
Are you sure your mix sounds as balanced as you think it does across different systems?
Achieving a balanced mix in Logic Pro starts with understanding how to calibrate loudness and adjust levels properly.
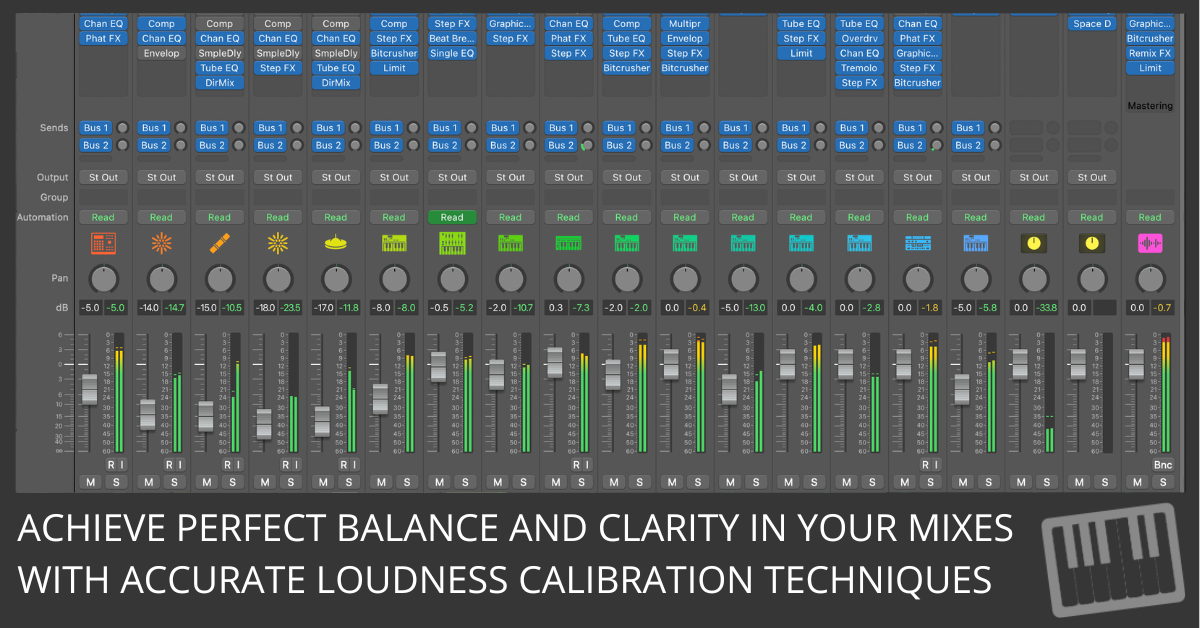
Calibrating your monitoring system ensures consistency and accuracy, making it easier to balance individual tracks within the mix.
This guide walks you through setting your system to a standard reference level of 83 dB SPL, which is commonly used in the audio industry. It offers tips for maintaining consistent levels across your project and explores best practices for balancing individual tracks to create a cohesive and polished mix.
Step 1: Calibrate to 83 dB SPL
Why 83 dB SPL?
The film and audio industries have long adopted 83 dB SPL (Sound Pressure Level) as the standard monitoring level because it accounts for the loudness contour of the human ear. At this level, the human ear perceives frequencies more evenly, allowing you to make more accurate decisions when balancing your mix. By calibrating to 83 dB SPL, you ensure your mix translates well across different playback systems and listening environments.
How to Calibrate Your System
- Get a Sound-Level Meter
A sound-level meter is essential for accurately measuring the loudness of your listening environment. You can use either a dedicated physical meter or a smartphone app. Ensure the meter is set to C-weighted and slow response mode, the recommended settings for accurately reading SPL levels in most environments.- C-weighting filters the sound to match human hearing perception, emphasizing midrange frequencies.
- Slow response smooths out rapid fluctuations in sound levels, providing a more stable reading.
- Position the Meter
Proper positioning of the sound-level meter is critical to getting an accurate reading. Place the meter where your head would be during mixing, typically in the “sweet spot” between your studio monitors. This ensures that the calibration reflects the same sound level you experience while mixing. - Adjust the Monitor Gain
Play a reference track—something well-mixed with clear, dynamic range—and adjust the monitor gain on your audio interface or amplifier until the sound-level meter reads exactly 83 dB SPL. Be sure to use the master volume knob on your audio interface or amplifier, not the volume control within Logic Pro or your playback software. - Mark Your Settings
Once you’ve calibrated your system to 83 dB SPL, mark the position of your monitor gain. This allows you to quickly and consistently return to this setting whenever you adjust individual track levels during the mixing process.
Step 2: Monitor Consistently
Monitoring consistency is critical to creating a balanced mix. With your monitor gain calibrated to 83 dB SPL, you’ll be able to make more reliable decisions regarding track levels and the overall loudness of your mix. However, it’s unnecessary to listen at 83 dB SPL all the time—prolonged exposure to high volumes can cause ear fatigue and even damage.
Practical Tips for Consistent Monitoring
- Return to 83 dB SPL for Critical Adjustments: When making precise balance adjustments, especially for important elements like vocals, bass, or lead instruments, always set your monitor gain back to the calibrated position.
- Lower the Volume for Extended Sessions: If you’re mixing for long periods, consider lowering the volume to reduce ear fatigue, but return to 83 dB SPL when you’re fine-tuning the mix.
- Use a Reference Track: Periodically compare your mix to a reference track at the same volume level to ensure you stay on target with your balance and loudness.
Step 3: Balance Individual Tracks
Once your monitoring system is calibrated and set for consistency, the next step is balancing the individual elements of your mix. The goal is to ensure that only one element occupies the listener’s primary focus at any given time, whether it’s the lead vocal, a guitar solo, or a synth melody.
Best Practices for Track Balancing
- Start with the Most Critical Elements
Begin by setting the level of the most important elements in your mix—typically the lead vocals or solo instruments. These elements should sit comfortably above the supporting tracks, allowing them to shine through without being drowned out by other sounds. - Adjust Supporting Tracks Gradually
Once the critical elements are in place, adjust the levels of supporting tracks (e.g., background vocals, rhythm instruments) relative to the main focus. Make small, incremental changes to ensure they don’t overpower the primary elements. - Consider the Context
Remember, different genres and sections of a song will have different balance requirements. For instance, in a rock mix, the guitars and drums might take precedence during the chorus, while a pop ballad might prioritize the lead vocal throughout. Adjust the balance based on the overall dynamics of the track. - Balance with the Big Picture in Mind
Remember that balance is not just about making each track audible—it’s about creating a cohesive whole. Each element should support the overall sound, complementing rather than competing with other tracks. Use the calibrated loudness as a foundation for these decisions, ensuring your mix has clarity and focus.
Conclusion: Achieving Professional Balance
Calibrating your monitoring system to 83 dB SPL and maintaining consistent levels throughout your mixing process is essential to achieving a professional balance. Following these guidelines, you can trust your decisions when adjusting individual track levels, ensuring that your final mix translates well across different playback systems. With a well-balanced mix, your audience will enjoy a clear and dynamic listening experience, where each element contributes to the overall sonic picture without competing for attention.
Enter your first name and email address and click the "Get Access Now!" button to get your free mixing guide.
Your Information is 100% Secure And Will Never Be Shared With Anyone!
For in the fly mixing and mastering, I just use “broadcast ready” under the settings of the master track, and other options. I’m a troubadour who does one night stand productions so I can move on to the next cause. I appreciate the speed songwriting and am actively doing speed production and distribution. I appreciate your work and future plans.
Thanks for sharing your process! Using the “broadcast ready” setting for quick mixing and mastering is a smart move, especially when you’re focused on speed and creativity. It’s great to hear you’re applying Speed Songwriting to your one-night stand productions. I’m excited to keep offering tools that streamline the creative process. Keep up the great work—can’t wait to see where your music goes next!