
The Inspector panel is one of the most powerful tools for editing and refining tracks in Logic Pro.
The beauty of using the Inspector is that it allows for nondestructive editing, meaning you can experiment with adjustments without permanently altering your original recordings.
In this tutorial, we’ll explore how to use the Inspector to modify your regions efficiently and effectively, giving you total control over your arrangement.
Step 1: Opening the Inspector
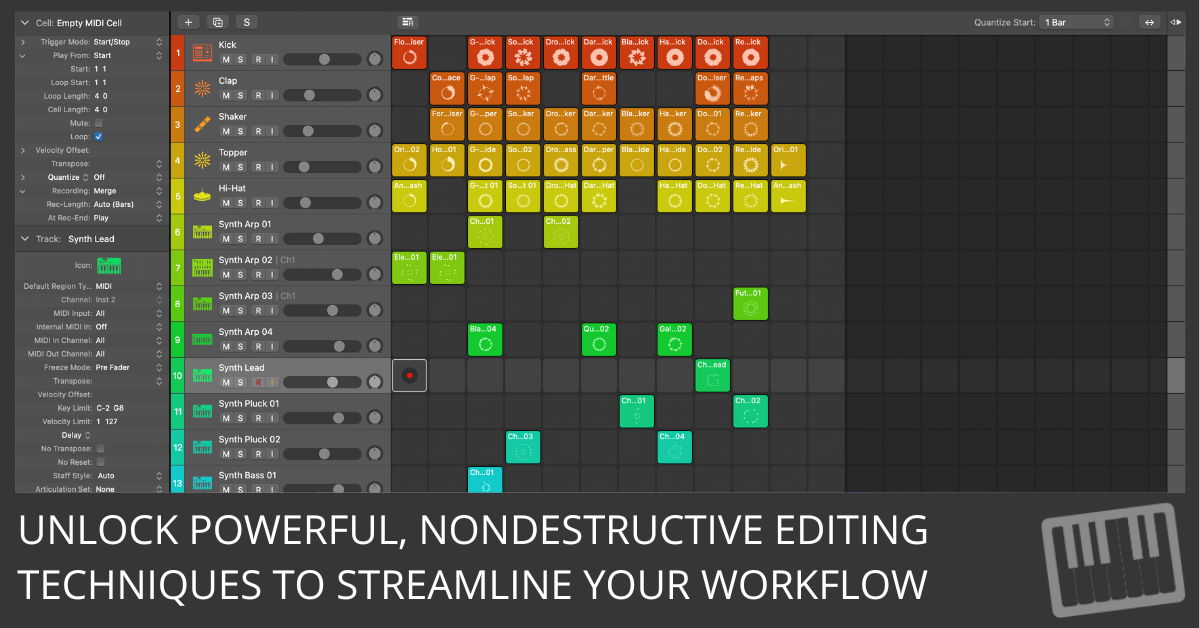
The Inspector panel is your gateway to advanced region editing. To get started, simply press the I key on your keyboard, and the Inspector will appear on the left-hand side of the screen. The region inspector is displayed when you select any region in the Tracks Area. This is where you’ll find all the crucial tools for modifying your regions.
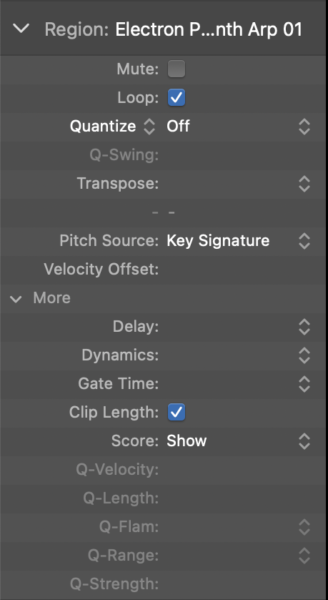
The Inspector is divided into two parts: the region inspector and the track inspector. For now, we’ll focus on the region inspector, which offers a variety of parameters tailored to the specific region you’ve selected—whether it’s MIDI or audio.
Step 2: Exploring the Parameters
Once the region inspector is open, you'll notice a disclosure triangle next to the region's name. Clicking this will reveal an array of parameters such as mute, loop, quantize, gain, and more. Here’s a quick breakdown of what these essential tools can do:
- Mute: This tool silences the selected region without deleting it from your arrangement. It is a great tool for temporarily muting elements to experiment with different sound combinations.
- Loop: Enables you to repeat a region indefinitely or up until the next region. This is perfect for creating loops from a drumbeat or a repeating instrumental section.
- Quantize: Corrects the timing of notes within a MIDI or Apple loop region. Choose a quantization value (e.g., 1/16th note) to snap all notes to the nearest division of the grid, instantly tightening your performance.
- Transpose: Changes the pitch of MIDI or Apple loop regions. This feature allows you to raise or lower the pitch in semitone increments, making it easy to experiment with different keys or harmonies.
- Gain: Adjusts the volume of audio regions, giving you precise control over the loudness of specific tracks without affecting the overall mix.
Step 3: Applying Changes to Regions
Now that you’ve explored the available parameters, it’s time to put them to use. Start by selecting a single region or multiple regions in the Tracks Area. You can apply any parameter changes across all selected regions simultaneously, which is a huge timesaver when working on complex projects.
- Quantize to Correct Timing: If your MIDI notes are slightly out of sync, select the region and use the Quantize field to snap the notes to the nearest grid line. You’ll immediately hear a more cohesive rhythm, which is especially useful for tightening up performances.
- Transpose for Pitch Shifts: If you want to experiment with a different key for a specific MIDI region, adjust the Transpose value. This can be especially helpful when harmonizing vocal parts or adjusting instrumental ranges to better fit your arrangement.
Step 4: Nondestructive Editing
The biggest advantage of using the region inspector is that all edits are nondestructive. This means that you can adjust the settings and parameters without permanently altering the original audio or MIDI data. For instance, if you transpose a MIDI region but later decide to revert to the original pitch, simply undo the changes in the inspector, and your original data remains intact.
This nondestructive workflow encourages experimentation. It allows you to confidently try different arrangements, key changes, and timing adjustments with confidence, knowing that you can always return to the initial state if needed.
Using the Inspector in Logic Pro is an essential skill for advanced users. It provides a wealth of options to refine and optimize your music. Whether you’re cleaning up a performance with quantization, experimenting with new harmonies through transposition, or adjusting volumes on the fly, the Inspector ensures that you can fine-tune every aspect of your project with precision and flexibility—all without the risk of damaging your original work.
(NOTE: Need Arranging and Editing training? See Logic Studio Training's Arranging and Editing with Logic Pro training program by clicking here.)
