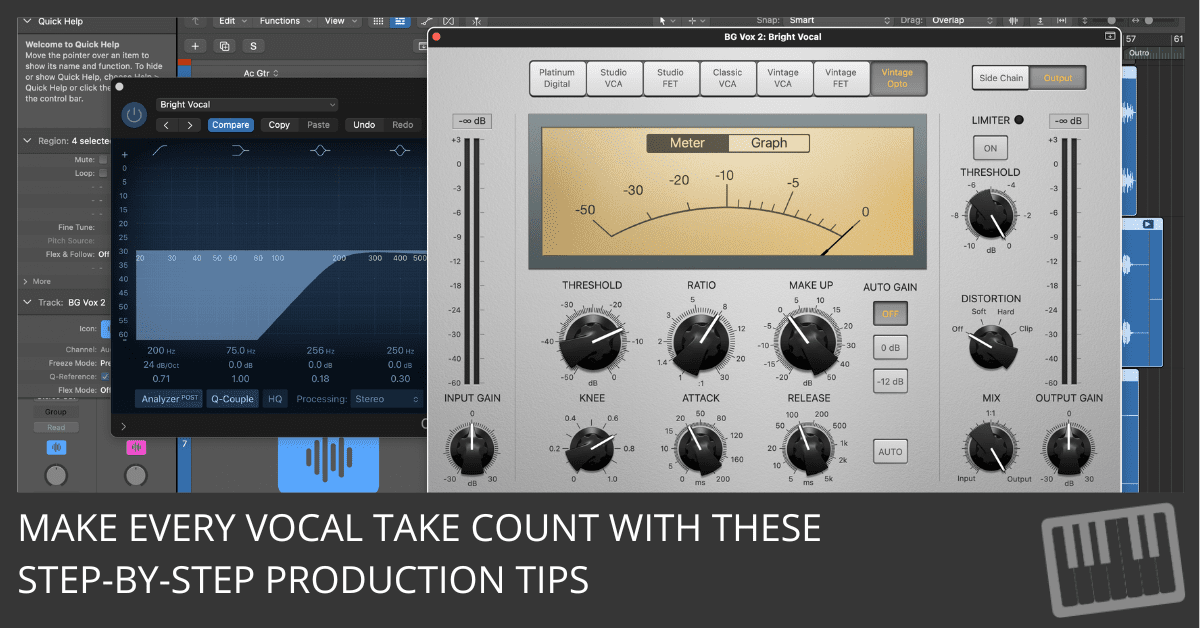
Anyone can deliver pro-level vocal tracks—if they know the right workflow.
Whether you’re recording in a bedroom studio or a high-end facility, these seven pillars will guide you to crisp, clear, and compelling vocals every time.
Here’s everything you need to know.
1. Preparation: The Foundation of Success
Before you even hit record, preparation is everything. A poorly prepped session wastes time and kills creativity.
Here’s what to do:
- Preload Your DAW Template: Set up your go-to plugins (EQ, compressor, de-esser) in a ready-made template.
- Warm Up Your Voice: Spend 10-15 minutes on scales, lip trills, or humming exercises to get your vocal cords primed.
- Send Tracks in Advance: If you’re recording a vocalist, send them the song at least 24 hours ahead. Ask them to familiarize themselves with the melody and lyrics to avoid wasted takes.
Pro tip: Use a checklist. Include items like "mic placement verified" and "pop filter attached."
2. Environment: Create the Right Space
Your recording space has a massive impact on sound quality. Even the best mic won’t save you from bad acoustics.
To optimize your environment:
- Control Reflections: Use sound absorbers or DIY with blankets and pillows to dampen echoes.
- Eliminate Noise: Shut windows, unplug noisy electronics, and use a gate plugin to block low-level hums.
- Experiment with Mic Placement: Start six inches from the mic and adjust based on vocal dynamics.
Example: If your room has a lot of reverb, try setting up in a walk-in closet or hanging heavy curtains around your mic stand.
3. The Right Tools: Invest in What Matters
Your gear matters, but you don’t need to break the bank. Prioritize key pieces that deliver the best ROI.
Gear essentials:
- Microphone: A Shure SM7B is a solid choice for versatility, while a Neumann U87 offers unparalleled clarity if your budget allows.
- Pop Filter: Stop harsh “P” and “T” sounds with a simple pop filter or even a DIY sock over the mic.
- Audio Interface: Ensure your interface has quality preamps for clean vocal capture. Brands like Focusrite and Universal Audio are reliable options.
Pro tip: Pair an affordable mic with tailored EQ settings to mimic the tone of a high-end mic. Save your settings for future use.
4. Recording Techniques: Nail It in the Take
The best recordings happen when performers feel comfortable and confident. Here's how to capture magic:
- Stand Up for Power: Always record standing to maximize airflow and diaphragm control.
- Monitor Input Levels: Keep levels between -12dB and -6dB to avoid clipping.
- Record Multiple Takes: Capture at least three takes for each section. This will give you material to comp the perfect performance.
For example, encourage vocalists to deliver one "safe" take, one experimental take, and one emotional take. This variety often yields unexpected gems.
5. Editing: Polishing the Diamond
Once your tracks are recorded, the real magic begins in the editing phase.
Key steps:
- Comping: Combine the best parts of multiple takes into a single, seamless performance.
- Noise Removal: Use a gate plugin to cut out room noise and unwanted clicks between phrases.
- Timing Adjustments: Use Flex Time to align vocals perfectly with the track.
Pro tip: Don’t over-edit. Keep some natural imperfections for authenticity—they’re often what make a vocal stand out.
6. Processing: Make It Radio-Ready
Processing transforms raw vocals into polished tracks ready for the spotlight. Focus on these core elements:
- EQ: Cut low-end rumble (below 80Hz) and boost clarity around 2-5kHz.
- Compression: Use a ratio of 3:1 or 4:1 to control dynamics without sounding squashed.
- Reverb and Delay: Add subtle reverb for depth and a quarter-note delay for vibe. Automate these effects to emphasize key moments.
For example, apply a stereo spreader to the chorus for a wider, more impactful sound. Keep verses intimate with minimal effects.
7. Mixing and Final Touches: The Polished Product
Your mix is the last chance to make the vocals shine. Don’t rush this step.
To create a professional mix:
- Balance Levels: Ensure the vocal sits prominently without overpowering the mix.
- Add Automation: Adjust volume, reverb, or delay levels dynamically throughout the track.
- Master the Track: Use a limiter to bring your mix up to commercial loudness standards.
Pro tip: Compare your mix to a reference track. This keeps you aligned with industry standards and ensures your vocals sound competitive on any platform.
Wrapping It Up
Mastering vocal workflows isn’t about perfection—it’s about consistency. These seven pillars will eliminate guesswork, improve efficiency, and elevate production. The key is to start where you are and build your skills one session at a time. Remember, every great track starts with a single take. Now, go hit record!
Enter your first name and email address and click the “Get Access Now!” button to get your free guide.
Your Information is 100% Secure And Will Never Be Shared With Anyone!
