
When you're composing for an orchestra in Logic Pro, time is everything.
You need the right tools at your fingertips to keep up with your creativity. That's where screensets come in. By creating multiple screensets for different stages of the composition process, you’ll save valuable time and mental energy.
Let’s explore 7 screensets that will streamline your workflow and take your orchestral compositions to the next level.
1. Instrument Selection and Track Layout
The first thing you need when composing for an orchestra is quick access to your instruments. A well-organized screenset for instrument selection can save you the hassle of searching through endless menus when inspiration hits.
Here’s what to do: Create a screenset where the Library (press 'Y' to show) is always open on the left, showing your orchestral patches. The Tracks area should take up the middle of the screen, with space for you to start building your project by laying out instrument tracks. If you’re working with multiple sections—strings, brass, woodwinds, etc.—create track stacks for each section and leave room for additional instruments. This way, when you need a specific sound, it’s already there, ready to be auditioned.
2. MIDI Input and Piano Roll Editing
Once your instruments are in place, it’s time to start inputting notes. A dedicated screenset for MIDI editing in the Piano Roll will keep you from bouncing back and forth between windows.
Set it up like this: Make the Piano Roll editor (press 'E' to show) take up the entire bottom half of your screen. This view gives you a large, easy-to-navigate space for editing note lengths, velocities, and articulations. Above the Piano Roll, keep your Tracks area visible so you can quickly switch between different instruments while making precise adjustments. This setup allows you to input and fine-tune your parts without clutter, and it’s especially handy for large, complex orchestral arrangements.
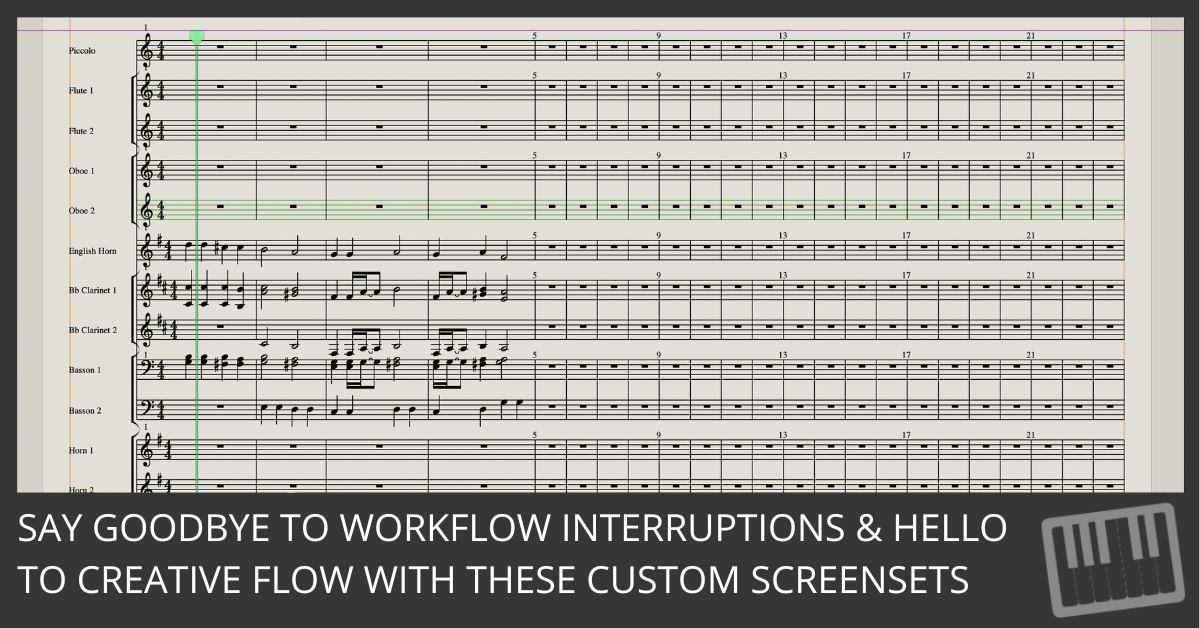
3. Score View for Notation Work
For orchestral composers who work with traditional music notation, the Score Editor is a must. It allows you to see your composition as sheet music, making it easier to understand how each instrument fits into the bigger picture.
To get started, open a screenset with the Score Editor (press 'Cmd+5') in full view. Make sure the Tracks area remains open at the top of the screen so you can quickly select different instruments. This layout is perfect for those moments when you need to double-check the notation or print parts for live musicians. As you compose, seeing your work in notation form will help you spot mistakes or opportunities for better orchestration.
4. Smart Controls for Performance Adjustments
The beauty of Logic Pro’s orchestral patches is in their realism, and much of that comes down to articulation and dynamics. Smart Controls give you immediate access to these performance parameters, letting you tweak the sound in real-time.
Set up a screenset where the Smart Controls (press 'B') take center stage. Keep the Tracks area visible so you can easily switch between instruments. As you record parts, adjust articulations—like legato or staccato—on the fly to give your composition more life. Having a dedicated screenset for Smart Controls ensures you can shape your performance without losing focus on the bigger picture.
5. Mixing the Orchestra with the Mixer View
Mixing an orchestra requires precision. Balancing dozens of tracks can get overwhelming, especially when jumping between different instruments. A screenset dedicated to the Mixer can make this part of the process seamless.
Here’s how to set it up: Open the Mixer window (press 'Cmd+2') and stretch it across the entire screen. Make sure each orchestral section—strings, brass, woodwinds, percussion—has its own submix using Track Stacks. This layout lets you focus on balancing levels, adjusting panning, and applying effects like reverb to make your orchestra sound cohesive. The key is having a clear, uncluttered view of every section of your orchestra in one place.
6. Video Sync for Film Scoring
When scoring to picture, syncing your music to the visuals is critical. A screenset dedicated to video will help you time your orchestral cues perfectly.
Set up your screenset with the Movie Window (press 'Cmd+9') displayed prominently on the top half of your screen while the Score Editor or Tracks area fills the bottom half. This way, you can watch the video while composing directly to the visuals. Having a video sync screenset saves you from having to toggle between your composition and the movie, allowing you to stay in the flow and compose with precision.
7. Global Tracks for Tempo and Key Adjustments
Global Tracks are where you control your project's tempo, time signature, and key. Having a screenset specifically for these adjustments can make working on large, complex compositions much smoother.
In this screenset, open the Global Tracks area (press 'G') along the top of the screen. Below, you should still be able to see your Tracks area or Score Editor. This setup allows you to make quick changes to the tempo or key without losing sight of your overall composition. If you're working on a film score, this screenset is essential for ensuring your music hits every key moment in sync with the picture.
Final Thoughts
By setting up these 7 screensets, you’ll transform how you work in Logic Pro. No more digging through menus or switching between windows—just seamless, uninterrupted composing. Whether you’re inputting notes, adjusting articulations, or mixing the final track, these screensets will keep everything you need right in front of you.
Take some time to set these up and lock them in (you can save them in the screenset menu). Once you’ve done that, composing an orchestral piece will feel like a breeze, giving you more time to focus on creativity rather than technical navigation.
Now, go set up your screensets, and watch your workflow improve dramatically.