
Drums make or break a track. If they don’t hit right, the whole song falls flat. If they’re too busy, they drown out the groove. If they’re weak, the energy collapses.
You don’t want that.
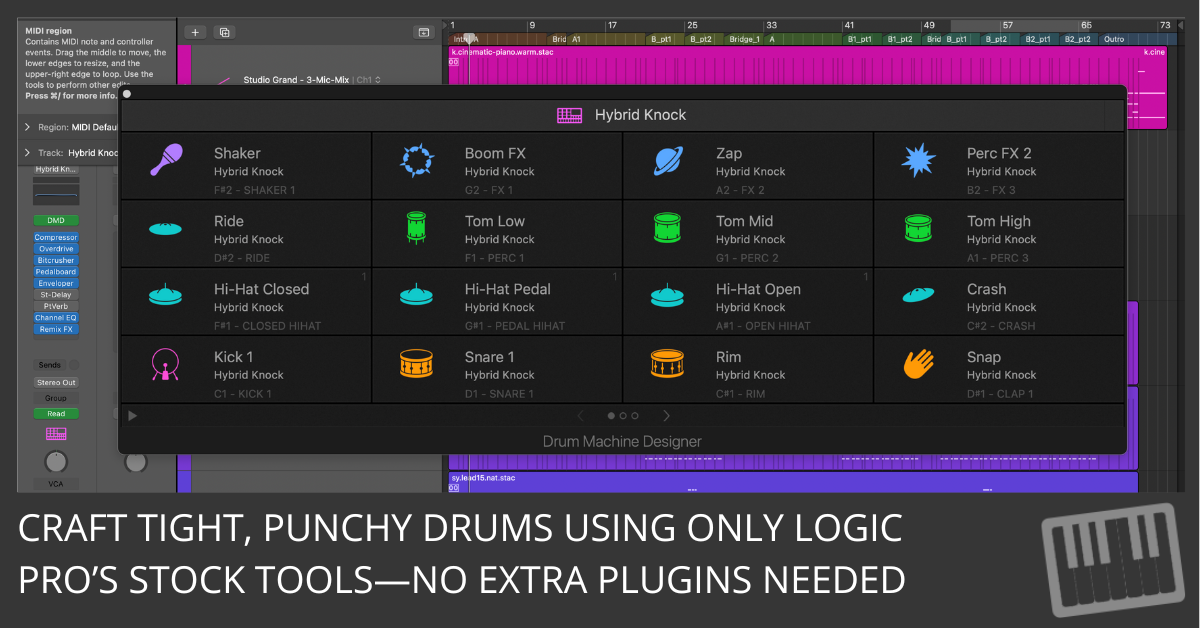
What you want is a mix that feels tight, groovy, and powerful—without clutter. That’s exactly what we’re going to do using Logic Pro and its stock plugins. Let’s break down a pro-level drum production workflow that keeps your track clean, dynamic, and radio-ready.
Step 1: Get the Tempo and Groove Right
Before touching a single drum sound, lock in your tempo.
A track sitting at 105 BPM might feel sluggish, but bumping it up to 108–110 BPM could give it the push it needs. Test small increments. One BPM change can change the entire feel.
- Action: Adjust the tempo in Logic’s control bar and listen critically.
- Tip: Tap ‘K’ to toggle the metronome and feel if the groove locks in.
If the tempo feels good but the groove doesn’t, use Logic’s Smart Tempo to tweak timing on existing drum loops or recordings without wrecking the track.
Step 2: Choose the Right Drum Sounds
Too many producers drown their mix in unnecessary drum layers. You don’t need 15 snare samples fighting each other. Pick a few killer sounds and stick with them.
- Kick: Choose a solid sample from Drum Machine Designer or a processed kick from Alchemy’s electronic kits.
- Snare: Start with a crisp UltraBeat snare or a deep clap layered with a Logic snare sample.
- Hi-Hats: Grab a hat sample from Apple Loops or Sample Alchemy, and keep it light and dynamic.
Step 3: Edit Drum Transients Like a Pro
Raw drum samples can sound too stiff or too loose. Logic gives you multiple ways to clean them up:
- Tab to Transient: Select your drum track, hit ‘Tab’ to jump to each transient, and trim any flams or loose hits.
- Quantize Smartly: Don’t robotize your groove. Try a 16th-note swing quantize (67% shuffle) in the Piano Roll.
- Fades for Punch: Use Region Inspector > Fade Tool to add tiny fades to chopped samples. This prevents pops and clicks.
Pro Tip: If your kicks feel soft, duplicate the track, high-pass the copy at 250 Hz, and add Logic’s Overdrive for presence.
Step 4: Layer for Depth, Not for Chaos
If your drums lack weight, don’t just stack more samples. Enhance them with smart layering.
For example:
- Layer a Sub Kick: Add a Sampler sine wave at 60 Hz under the main kick.
- Use Parallel Compression: Send the entire drum bus to Logic’s Compressor (Studio FET) and crank the ratio to 10:1.
- Add Atmosphere: A barely audible reverse snare or breathy noise sweep creates anticipation before a drop.
Test each layer with and without the others. If you can’t tell it’s missing, delete it.
Step 5: Fix Harsh Frequencies and Mud
Even great drum samples need cleanup. A messy low-end or an ear-piercing hi-hat will ruin a mix.
Use These EQ Moves (As Starting Places):
- Kick: Cut 250 Hz (mud), boost 50 Hz (sub punch), dip 400 Hz (boxiness)
- Snare: Cut 500 Hz, add a slight 2kHz boost for snap
- Hi-Hats: Low-cut at 150 Hz, add a 12 kHz air boost (optional)
- Drum Bus: Apply a slight smiley face EQ—dipping mids, boosting lows/highs
Pro Tip: If your mix is getting too busy, remove frequencies instead of adding new layers.
Step 6: Tighten the Groove with Compression
Compression shapes your drum sound. But the wrong compression? It kills all your dynamics.
Here’s how to compress drums the right way in Logic Pro:
- Kick: Use Studio FET Compressor at 4:1 ratio, fast attack, fast release.
- Snare: Use Classic VCA Compressor, slow attack (20-30ms), and fast release for extra punch.
- Hi-Hats: Don’t overdo it—use Logic’s Envelope Shaper instead of compression.
- Drum Bus: Apply Glue Compression (VCA Mode, 2:1 ratio, slow attack, fast release) to blend everything.
Step 7: Final Groove Polish with Subtle Distortion
Clean drums can sound sterile. A touch of analog-style saturation gives them vibe and warmth.
Try these settings:
- Tape Delay Trick: Add Logic’s Tape Delay, set the delay time to 0-2ms, and mix at 5% for analog fatness.
- Overdrive on Snare: Use Logic’s Overdrive, mix at 10%, and dial the tone around 1kHz.
- Soft Clip the Drum Bus: Use Clip Distortion, keep Gain low, Mix at 20% for subtle warmth.
Less is more. You want grit, not garbage.
Step 8: Automate Energy Changes for Impact
Your song should build over time. If it feels flat, automate elements to keep things moving.
Here’s how:
- Verse 1: Minimal hi-hats, simple backbeat.
- Pre-Chorus: Add ghost snares (low volume), subtle tom fills.
- Chorus 1: Bring in full kick/snare, no crashes yet.
- Verse 2: Add 16th-note hi-hats to drive the song forward.
- Chorus 2: Introduce cymbals, bigger fills, additional percussion.
- Final Chorus: Full energy—crashes, bigger snares, tambourines.
Build the track like a movie scene. Every section should escalate.
Final Step: Mix with a Clear, Punchy Sound
You’re almost there. Now you need to make sure the drums sit perfectly in the mix.
- Parallel Compression: Blend in heavily compressed drums for extra thickness.
- Reverb on Snare & Toms: Use ChromaVerb (Small Room, 10% mix) for subtle depth.
- Bus Processing: Add a slight Logic Exciter boost at 3 kHz for presence.
- Stereo Field: Keep kicks & snares mono. Pan hi-hats, toms, and percussion slightly for space.
Listen. Adjust. Repeat.
What’s Next?
Drum production isn’t just about adding sounds. It’s about sculpting them.
- Refine each layer. No wasted frequencies.
- Keep the groove alive. No over-quantized stiffness.
- Balance power and space. No unnecessary clutter.
That’s how you get pro-level drums using just Logic Pro’s stock tools.
Now open Logic, pull up your latest session and start dialing in your final drum mix. Your track deserves it.
Great tips Graham!
Glad you liked it, Peter!