
You're a busy music producer juggling multiple projects and tight deadlines, and you're eager to find ways to boost your productivity.
Look no further!
Here are six incredible Logic Pro tips that will help you streamline your workflow and make your clients' jaws drop.
Let's dive right in!
Tip 1: Customize Your Workspace
Build Your Perfect Creative Environment
When you spend countless hours in front of your screen, a personalized workspace is a must. It's not only about aesthetics but also about saving time and reducing the number of clicks. So, how can you tailor Logic Pro to your needs?
Key Commands and Screen Sets
Creating custom key commands allows you to access your favorite tools with a single keystroke. Here's how to create one:
- Go to Logic Pro > Key Commands > Edit Assignments (Option-K)
- Search for the function you want to assign
- Select the function and click Learn by Key Position
- Press your desired key combination
Screen Sets, on the other hand, let you save and switch between different workspace layouts with ease.
- The screenset menu is located on the main menu, right beside the Window menu. It displays the number of your current screenset.
- To access your screensets, use the Screenset menu or press any of the number keys on your keyboard from 1-9. You can store up to 90 screensets. To recall screensets with two digits, press Control while entering the first digit.
- Once you have a screenset exactly how you like it, you can lock it from the screenset menu. You can also duplicate, delete, and rename screensets from the screenset menu.
Say goodbye to tedious menu navigation and hello to the perfect creative environment!
Tip 2: Utilize Built-In Templates
Time Is Money, Save Both
Built-in templates are like blueprints for your projects. They come pre-loaded with the right tracks, instruments, and effects, saving you tons of time on setup. So, how can you leverage these templates?
Types of Templates and Customization
Logic Pro offers various templates, such as:
- Electronic
- Hip Hop
- Orchestral
- Songwriter
- Multi-Track
- Music for Picture
To create your own custom template:
- Start a new project with your preferred template
- Modify it according to your needs
- Go to File > Save as Template
- Name it and hit Save
From now on, your custom template will be available under My Templates when starting a new project.
Tip 3: Speed Up Editing with Marquee Tool
Edit Like a Pro
The Marquee Tool is like a Swiss Army knife for editing. It can save you heaps of time by allowing you to select, split, and delete audio regions with just a few clicks. So, how can you master this versatile tool?
Marquee Tool in Action
Follow these steps to unleash the full power of the Marquee Tool:
- From the tool menu, select the Marquee tool, or with your cursor in the Tracks area, press T and then press R
- Click and drag to select a region
- To split a region, click where you want the split and press Command-T
- To delete a selected area, select Edit > Delete
That's it! With these simple steps, you'll be slicing and dicing your audio like a pro in no time.
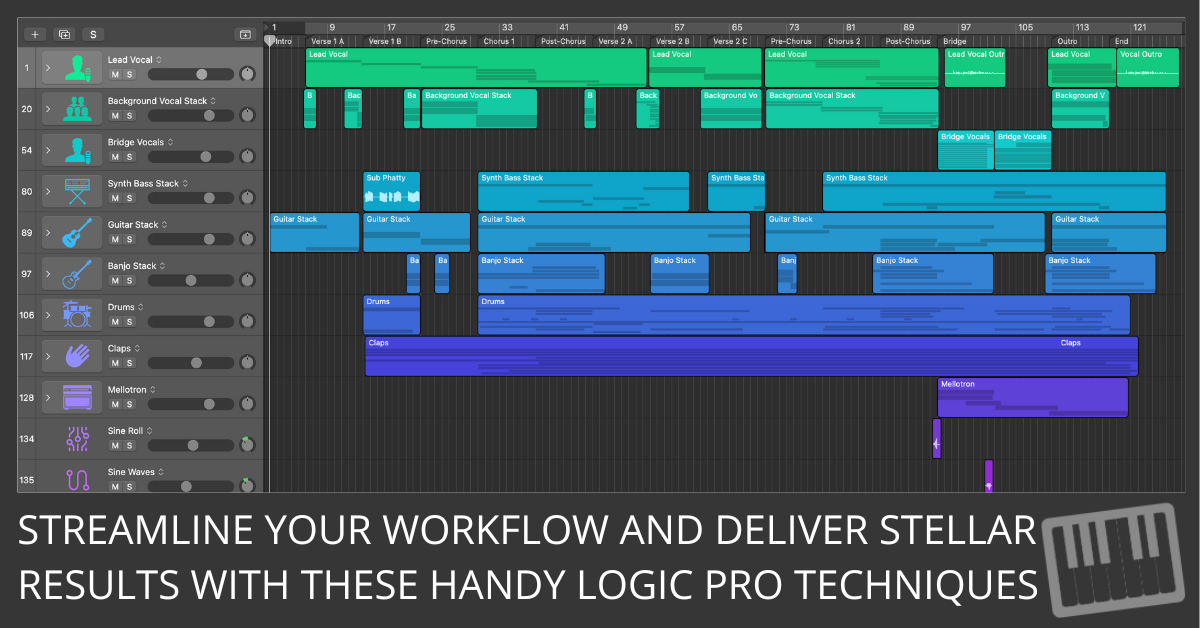
Tip 4: Make Use of Track Stacks
Organize, Simplify, and Enhance
Track Stacks are a game-changer for managing large projects. They help you organize, simplify, and even enhance your tracks by grouping them together. So, what are the different types of Track Stacks, and how can you use them effectively?
Types of Track Stacks
Logic Pro offers two types of Track Stacks:
Folder Stack: Great for organizing and tidying up your project. Folder Stacks collapse multiple tracks into one, making it easier to manage complex arrangements.
To create a Folder Stack:
- Select the desired tracks
- Right-click and choose Create Track Stack
- Select Folder Stack and click Create
Summing Stack: In addition to organization, Summing Stacks offer creative possibilities by combining multiple tracks into a single bus with shared effects and routing. This is perfect for processing a group of tracks collectively. To create a Summing Stack:
- Select the desired tracks
- Right-click and choose Create Track Stack
- Select Summing Stack and click Create
Track Stacks in Action
Imagine you're working on a drum track with multiple individual channels for kick, snare, hi-hats, etc. You can create a Summing Stack to group them together, apply a compressor to the entire drum mix, and control their overall volume with a single fader. It's powerful, efficient, and keeps your workspace tidy!
Tip 5: Master the Art of Automation
Breathe Life into Your Music
Automation is the secret sauce that can make your music sound more dynamic, polished, and professional. It allows you to control various parameters like volume, pan, and effects over time. So, how can you incorporate automation into your workflow effectively?
Automation Modes and Techniques
Logic Pro offers four main automation modes:
- Read: Plays back existing automation data
- Touch: Records automation only when a parameter is adjusted
- Latch: Continues recording automation even after releasing a parameter
- Write: Overwrites existing automation with new data
To create smooth transitions and effects with automation:
- Press A to open the Automation view
- Select the desired automation parameter
- Double-click to add automation points
- Adjust the points to shape the automation
By mastering automation, you can bring your tracks to life, creating impressive builds, drops, and subtle shifts in your music.
Tip 6: Utilize Bounce in Place and Freezing Tracks
Save CPU, Save Time
Large projects can put a strain on your computer's resources, causing slowdowns or crashes. Bounce in Place and freezing tracks can help you conserve CPU, allowing you to work more efficiently. So, how can you use these features to optimize your workflow?
Bounce in Place and Freezing Tracks Tutorial
To use Bounce in Place:
- Select the region or track you want to bounce
- Right-click and choose Bounce and Join > Bounce in Place
- Configure your bounce settings and click OK
This creates a new audio file with all effects and processing, reducing the load on your CPU.
To freeze a track:
- Click the Freeze button (snowflake icon) in the track header
- To unfreeze, click the Freeze button again
Freezing a track temporarily renders it as an audio file, freeing up resources until you're ready to make further changes.
Conclusion
There you have it – six time-saving Logic Pro tips that will streamline your workflow, enhance your productivity, and help you impress your clients.
From customizing your workspace to mastering automation, these techniques are sure to give you the competitive edge you need to thrive in the music production world.
So, what are you waiting for?
Dive in, apply these tips, and let your creativity soar!
Enter your first name and email address and click the "Get Access Now!" button to get your free mixing guide.
Your Information is 100% Secure And Will Never Be Shared With Anyone!