
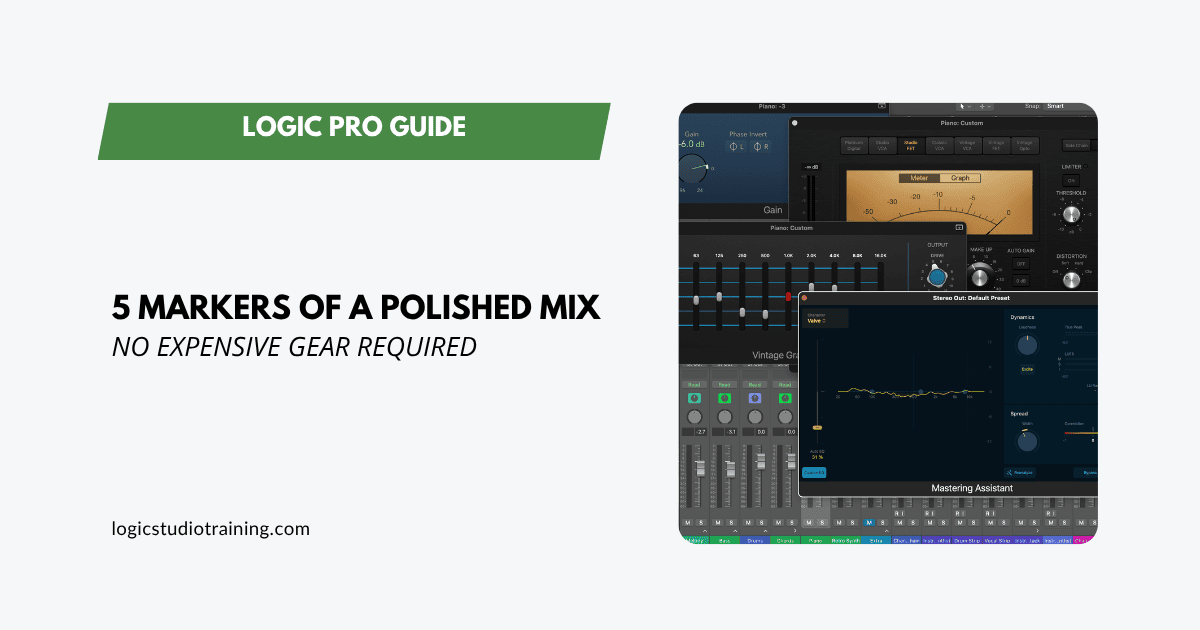
Exactly what to do and why it works, using only Logic Pro.
A polished mix comes from getting a few fundamentals right every time, not from secret boutique gear. Five markers separate a mix that sounds finished from one that doesn't, and all five are achievable with Logic Pro stock plugins.
1. Balanced Levels That Hold Up Anywhere
If your mix sounds muddy, harsh, or like it's been shrink-wrapped in a blanket, the issue is usually gain staging. Balanced levels are about feeding every plugin in your chain the right amount of signal so it can do its job, which takes more than pulling faders until it "feels right."
Why this matters:
Plugins, especially analog-modeled ones, operate best at certain input levels (often around -18 dBFS).
If your signal is too hot before it hits the fader, you're overdriving every insert in the chain, even if the meters look fine. That means EQs smear detail, compressors pump in weird ways, and your master bus loses headroom before you start mixing.
How to do it in Logic:
- Insert a Gain plugin first on every channel.
Go to Utility > Gain and drop it at the top of your channel strip, before EQ, compression, or saturation. - Set your input levels before touching the fader.
Play the loudest section of the track and adjust the Gain plugin so peaks land between -12 and -18 dBFS. - Aim for -18 dBFS for maximum headroom or when using analog-modeled plugins.
- Target peaks, not average levels.
- Turn on Pre-Fader Metering (right-click the channel meter in Logic's mixer).
This shows the level before the fader and processing, so you know exactly what's hitting your plugins. - Reset your faders to unity (0 dB) and use Gain plugins to balance your instruments before doing any creative mix moves.
Why this works:
By gain staging up front, you prevent hidden overloads inside your plugin chain. Compressors respond more musically, EQs shape without smearing, and you keep plenty of mix bus headroom (around -6 to -3 dBFS before mastering).
Pro tip: Level-match your mix to a reference track using Logic's Loudness Meter before comparing. If it feels balanced at equal loudness, it will translate better on phones, earbuds, and cars.
2. Clean Low-End With a Clear "Leader"
Low-end chaos is one of the fastest ways to make a mix sound amateur. If kick, bass, and other instruments are fighting for the same sub frequencies, you get mud instead of punch.
Why this matters:
Our ears can't clearly distinguish multiple sources occupying the same deep frequency range. One of them needs to take the lead.
How to do it in Logic:
- Pick your low-end leader, either kick or bass. Decide which one owns the deepest frequency range.
- In Channel EQ, apply a high-pass filter to any track that doesn't require sub frequencies (BGVs, guitars, pads, FX).
- Start around 80–120 Hz with a gentle 12 dB/oct slope and adjust by ear.
- Use Multimeter → Analyzer to see where buildup happens, especially in the 120–250 Hz "mud zone."
- Solo kick + bass together. Mute one. If the mix's weight disappears, carve EQ space or adjust note/octave to separate them.
Why this works:
When only one element dominates the sub-bass range, every note and hit becomes more defined. The result is the "tight but full" low-end you hear in professional mixes.
The 3 Biggest Low-End Mistakes Beginner Mixers Make—and How to Avoid Them
3. Controlled Dynamics That Still Breathe
Dynamic control is what keeps your mix feeling alive and listenable. Without it, quiet parts disappear and loud parts jar the listener. Too much compression flattens everything.
Why this matters:
The human ear prefers consistency. Controlled dynamics keep focus on the performance, not sudden level jumps.
How to do it in Logic:
- For vocals, use Compressor with a 3:1 ratio, medium attack/release, aiming for 3–6 dB gain reduction on peaks.
- For bass, try 3:1 or 4:1 with a slower attack to let the note's attack punch through.
- On the drum bus, use 2:1 with 1–3 dB reduction for glue.
- Use automation for major volume changes, and let the compressor handle the small inconsistencies rather than the whole job.
Why this works:
Compression evens out small inconsistencies so you can bring the average level up without distortion. Automation preserves musical expression, so your mix keeps its intent.
4. Stereo Image That's Wide, Focused, and Phase-Safe
Width gives your mix dimension, but without a solid center, it collapses in mono (club systems, radios, phones).
Why this matters:
Our ears localize important elements (vocals, bass, kick, snare) to the center. Width works best when the center is stable.
How to do it in Logic:
- Keep lead vocals, bass, kick, and snare centered.
- Pan other instruments to create a left/right "mirror" so the mix feels balanced.
- Use Direction Mixer for small stereo widening moves on pads, guitars, or BGVs.
- Check phase: Multimeter → Correlation Meter should stay between 0 and +1.
- Use the Gain plugin's Mono switch to test mono compatibility. If something disappears, adjust panning or fix polarity.
Why this works:
Keeping the center strong ensures your mix translates on every playback system. Width then becomes an enhancement built on a stable foundation.
5. Depth and Space With Intent
Depth is what makes a mix feel three-dimensional. Without it, everything competes for the same "front row" spot.
Why this matters:
Our ears use timing and reflections to judge distance. Depth tells the listener where each sound "lives."
How to do it in Logic:
- Use ChromaVerb for short room or plate reverbs (0.6–1.2 seconds) when you want closeness, and longer hall settings (1.6–2.8 seconds) for size. Reach for Space Designer when you want a real, convolved space rather than a modeled one.
- Set pre-delay between 20–60 ms so the reverb starts after the dry sound's attack.
- Filter your reverb returns with Channel EQ, high-passing at 150–300 Hz to prevent low-end mud.
- Automate send levels: less in verses for intimacy, more in choruses for lift.
Why this works:
By controlling the length, timing, and frequency content of your reverbs, you place each instrument in a unique space without washing out the mix.
Bringing It All Together
Polished mixes come from repeatable habits:
- Balanced levels through proper gain staging
- Defined low-end with a single leader
- Controlled dynamics with room to breathe
- Stable stereo imaging with safe width
- Purposeful depth that gives every element its own space
Hitting all five on one song is a good day. Hitting them on every song is a workflow, which is exactly what the Mixing and Mastering Masterclass is built to give you.
Get these right every time, and your mixes will sound professional with nothing more than Logic Pro and a decent pair of headphones.
Your Logic Pro Coach,
Graham
Free Download
Get the Free Logic Pro Mixing Cheat Sheet
The essential mixing reference for Logic Pro — key settings, signal flow, and mix decisions on one page. Enter your name and email and I'll send it right over.
Your information stays private. No spam, no sharing, ever.