
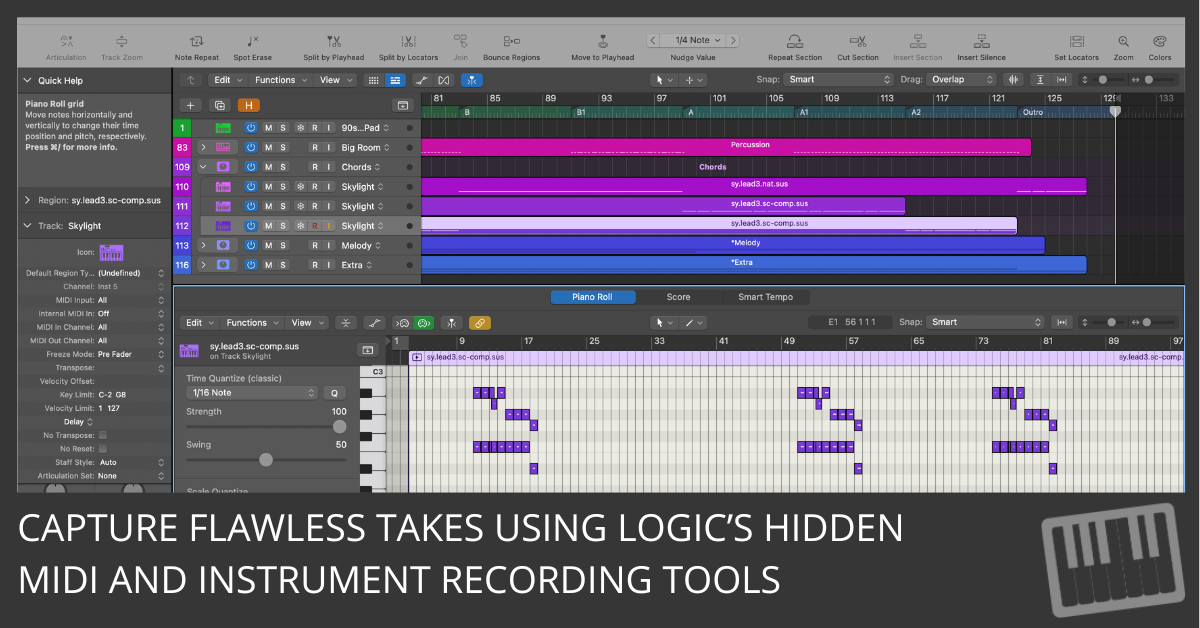
There’s more than one way to record a killer synth line in Logic Pro.
Whether you're tapping out beats with your QWERTY keys or routing complex MIDI FX across multiple tracks, Logic gives you a complete toolkit for capturing and shaping your ideas.
Here’s how to make the most of it—step by step, no fluff.
🎹 Record Software Instruments (The Fast Way)
To get up and running quickly with software instruments, follow these steps:
- Connect a MIDI controller
Plug in your USB keyboard, hook up a MIDI interface, or pair your Bluetooth controller. If it shows up in Logic Pro > Settings > MIDI > Inputs, you’re good. - Add a software instrument track
Hit Option–Command–S, or go to Track > New Software Instrument Track.
Then pick your sound from the Library—try “Studio Grand” under Pianos if you're testing. - Start playing
You’ve got options:- A physical MIDI keyboard
- Musical Typing (
Command–K)—yes, your Mac’s keyboard works - Onscreen Keyboard (
Window > Show Keyboard) - Touch Bar—great for quick sketching if you’ve got a MacBook Pro with one
- Record
Put the playhead where you want to start.
Press R. Play your part. Press Space to stop.
That’s it. You’ve just laid down your first MIDI region.

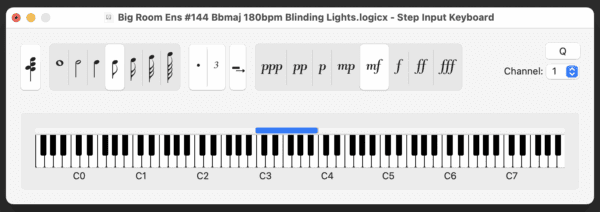
🧮 Want to Enter Notes Without Playing? Use Step Input
Perfect for complex phrases, triplets, or entering notation from sheet music.
- Go to
Window > Show Step Input Keyboard - Move the playhead where you want the notes
- Click the onscreen keys—or use your MIDI keyboard
- Use the panel to set note length, velocity, triplets, and more
Hold down Chord Mode to stack notes.
Click Dot for dotted notes, and Quantize to line them up.
Example:
Want a staccato G-B-D chord followed by an eighth-note A?
Enable Chord Mode, click G-B-D, disable Chord Mode, click A. Done.
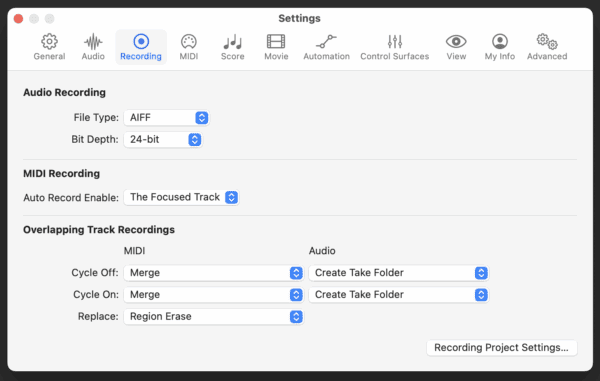
🧩 Overdub or Replace MIDI Like a Ninja
Whether you're layering harmonies or fixing flubs, Logic makes it easy.
- Go to Settings > Recording > MIDI Cycle On
- Choose one of the following:
- Merge: Layers your new notes on top of existing ones (great for drum fills)
- Replace: Erases and overwrites the old performance (choose from Region/Content Erase or Punch)
Tip: Use Cycle mode to loop the section you're working on.
Press R, jam over and over until it’s right.
Logic will merge or replace automatically based on your cycle mode setting.
🔗 Capture MIDI From One Track to Another
Let’s say you’ve got an arpeggiator on Track 1 and want to record the output to Track 2.
Here’s how to pull that off:
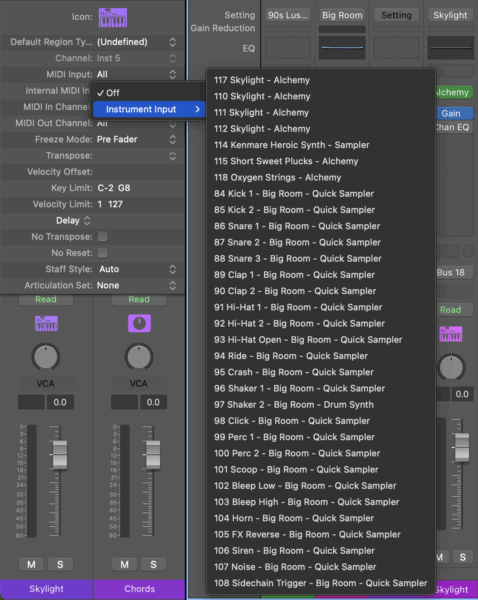
- On the sending track (Track 1), click the MIDI FX slot and choose
“Record MIDI to Track Here”. - On the receiving track (Track 2), go to the Track Inspector, open the
Internal MIDI In menu, and pick Track 1. - Choose your source:
- MIDI to Track – taps the MIDI signal after MIDI FX
- Instrument Input – taps right before the instrument plugin
- Instrument Output – captures output from instruments that send MIDI
- Enable record on Track 2 and press R
Now, Track 2 is recording the processed MIDI output from Track 1.
This is killer for bouncing arpeggios, drum sequencers, or MIDI FX chains.

🎛️ Quick Recap: Recording Audio or MIDI Tracks
Whether it’s audio or MIDI, the core recording process is the same:
- Click the “R” button on the track to arm it
- Move the playhead to your starting point
- Press “R” or click Record
- Play, sing, or perform
- Stop with the space bar
Boom. You’ve got a take.
Final Tip: Refine With Spot Erase or Note Repeat
For polishing MIDI:
- Use Spot Erase to delete specific notes during playback—just hold the offending note on your keyboard
- Use Note Repeat to fire rapid bursts of a single note while holding the key (perfect for trap hi-hats)
Both tools are in the Toolbar. If the Toolbar isn't visible, choose View > Show Toolbar.
Click the icon or assign a key command for faster access.

One More Thing: Create Templates for Speed
If you often use this kind of routing, such as MIDI FX chains or split-layered instruments, save your session as a Template.
File > Save as Template
Name it something like “MIDI FX Routing – Arp Bounce”
You’ll thank yourself later.
Your Next Move:
✅ Try recording a melody with Musical Typing
✅ Layer it with a harmony using Overdub
✅ Route it through an Arpeggiator and record that output on a new track
You’ve now got three levels of MIDI wizardry happening in one session.
Keep creating. Keep capturing. Don’t let good ideas slip.
Free Download
Get the Free Recording Cheat Sheet for Logic Pro
The recording essentials in one quick reference: levels, monitoring, clean MIDI capture, and the takes-and-comping workflow. Enter your name and email and I'll send it right over.
Your information stays private. No spam, no sharing, ever.