
If your EQ workflow feels like déjà vu every time you open Logic, it's time to build smarter habits.
These seven techniques use only Logic Pro's built-in EQ plugins — Channel EQ, Vintage EQ, and Multipressor — to help you mix faster, make vocals clearer, and get more out of every session. No third-party tools required.
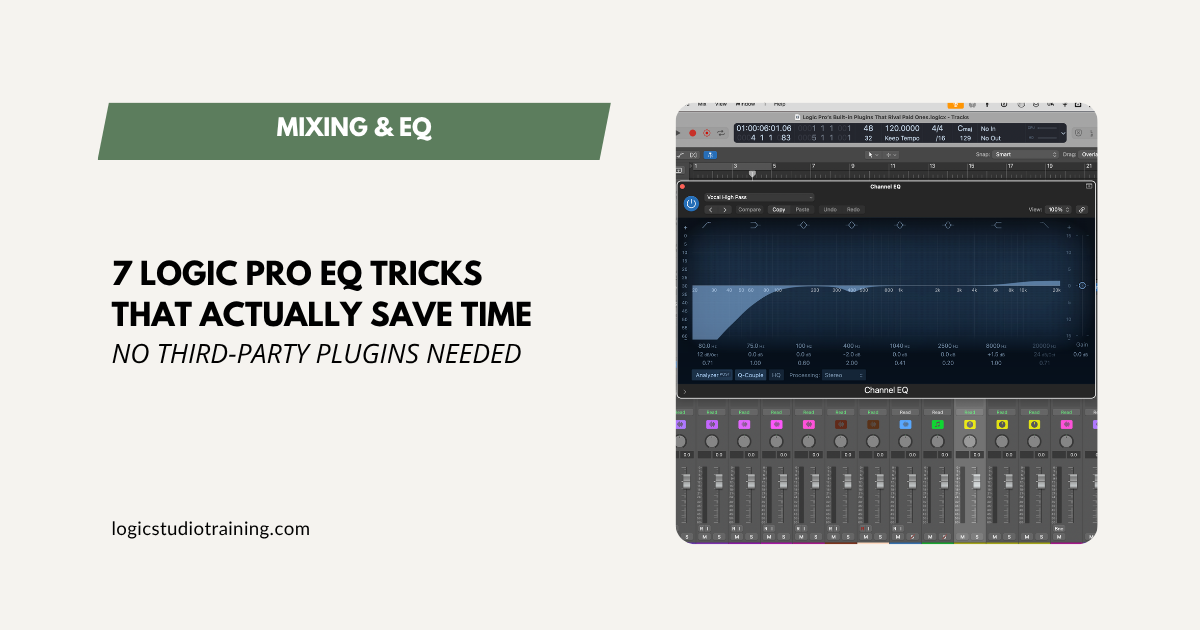
Tip 1: Set a Channel EQ Default to Skip the Setup Every Time
Logic's Channel EQ is your most-used mixing tool. The smart move is saving a starting configuration so it's ready the moment you insert it.
Here's how:
- Insert Channel EQ on any audio track.
- Activate the bands you reach for most. A useful starting point: roll off everything below 30 Hz, pull down a narrow notch at 3 kHz for vocal tracks that tend to bite, and add a gentle high shelf at 12 kHz.
- Click the Settings menu in the top-right corner of the plugin.
- Choose Save As Default.
From that point on, every new Channel EQ instance loads your configuration. less setup, more mixing.
You can save separate defaults for different track types by saving them as named Plug-in Settings and loading them from the same Settings menu.
Tip 2: Duck Instruments to Make Room for Vocals
Vocals getting buried in a busy mix is one of the most common problems in home studio production. The fix doesn't have to be manual volume automation.
Here's how to use the Multipressor as a dynamic EQ to carve space automatically:
- Bus all your instruments to a new Instrument Bus.
- Route your vocals to a separate Vocal Bus.
- On the Instrument Bus, insert Multipressor (under Dynamics in the plugin menu).
- Set one band to the vocal frequency range, typically 1 kHz to 5 kHz.
- Click the Side Chain menu at the top right of the plugin and select your Vocal Bus.
- Adjust the Threshold and Ratio so the instruments pull back slightly whenever the vocal is present.
The instruments step aside when the vocal sings. You'll hear more space open up in the chorus without touching a fader.
Integrating Vocals Seamlessly into Your Mix with Logic Pro's Match EQ
Tip 3: Use Creative EQ to Shape Emotion in Vocals
EQ isn't only for correction. It can change the emotional quality of a vocal performance entirely.
A throwaway phrase or ad-lib can become a textural moment with the right filter settings. Here are three quick effects using only Channel EQ:
- Underwater: Roll off everything above 4.5 kHz with a low-pass filter.
- Old radio: Boost around 1 kHz and cut sharply below 300 Hz and above 3.5 kHz.
- Lo-fi air: Cut lows under 150 Hz and add a gentle boost around 10 to 12 kHz.
Automate the EQ band gains across a phrase to sweep between these textures. That kind of movement keeps a listener's ear engaged without any additional effects.
Tip 4: Stack Channel EQ and Vintage EQ for Precision and Color
Logic gives you two very different types of EQ, and they work best together.
Channel EQ is surgical. Vintage EQ adds character. Use them in sequence on the same track:
- Insert Channel EQ first. Use it to notch out problem frequencies (a nasal 2.7 kHz or a boxy 400 Hz) and roll off sub-rumble with a high-pass filter.
- Insert a Vintage EQ after it. Try the Vintage Console EQ for presence or the Vintage Tube EQ for warmth. Gentle boosts at 110 Hz or 8 kHz go a long way.
Channel EQ cleans up the problems. Vintage EQ adds the personality. Running them in that order keeps you from adding color to frequencies you're about to cut.
Tip 5: Add Air to Your Mix Bus Without Harshness
If your mix sounds dull or congested at the top end, a small EQ adjustment on the Stereo Out can open things up.
- Insert Channel EQ on your Stereo Out.
- Add a gentle High Shelf boost starting at 7 kHz. Two to three dB is enough.
- If the mix sounds pushed forward or aggressive, add a narrow dip around 2.5 kHz.
The shelf lifts the air without touching the midrange presence. The 2.5 kHz dip pulls back the harshness if the mix reads as too bright or fatiguing. Neither move should be obvious. if it sounds like EQ, dial it back.
Tip 6: Use the Pultec Trick with Logic's Vintage Tube EQ
The Pultec boost-and-cut on the same frequency is one of the most-used analog mastering techniques. Logic Pro's Vintage Tube EQ recreates it.
To tighten up kick drum or bass:
- Insert Vintage Tube EQ on the track.
- In the Low Frequency section, set the frequency to 60 Hz.
- Boost around +4 dB.
- Cut the same frequency around -4 dB.
Because the internal boost and cut curves aren't perfectly linear, you get a punchier sub with a cleaner low-mid region. The result is kick or bass that hits harder without crowding the rest of the low end.
Tip 7: Use M/S Mode on the Mix Bus for Stereo Width Control
This one gets overlooked because it's not obvious from the Channel EQ interface, but it's one of the most practical mix bus moves in Logic.
Channel EQ's Processing pop-up menu lets you choose to process only the Mid signal or only the Side signal of a stereo track, independently of the other. On your Stereo Out, that means:
- Cut low end from the Side signal. Set the Processing menu to Side Only, then apply a high-pass filter at 100 to 150 Hz. Bass frequencies in the stereo field cause muddiness and translation problems on mono speakers. Cutting them from the sides while leaving the Mid alone cleans this up fast.
- Boost high-end air on the Sides only. A gentle shelf boost above 10 kHz on the Side signal adds width and shimmer without making the center of the mix brighter.
Use a second Channel EQ instance set to Mid Only if you want to EQ the center of the mix separately from the stereo field. It's a more surgical approach than processing both sides together, and it gives you precise control over where the energy lives in your mix.
Save Everything as Presets
Once you find EQ chains that work, save them. In Logic, select all the plugins on a channel strip, then go to Settings > Save Channel Strip Setting. Name it something clear: "Vocal Carve," "Mix Bus Air," "Kick Tighten."
Your best setups become one-click recalls on every future session. That's the difference between a workflow and a starting-from-scratch habit.
Conclusion
None of these techniques require expensive plugins. They just need a clear understanding of what each tool does and when to reach for it. Logic's built-in EQ suite is more capable than most producers realize, and building a few reliable chains and defaults is the fastest way to start getting more out of it.
Your Logic Pro Coach,
Graham — Author of Logic Pro For Dummies
Free Download
Get the Free Logic Pro Mixing Cheat Sheet
The essential mixing reference for Logic Pro — key settings, signal flow, and mix decisions on one page. Enter your name and email and I'll send it right over.
Your information stays private. No spam, no sharing, ever.